Friday, August 8, 2014

Engine Cleaning I0I

Recently I've been detailing my truck by washing, quick-waxing, trim restorer, and vacuuming. But I soon realized that I had overlooked my engine. I popped the hood and and was surprised that it was actually in good shape, mind a few cob webs. I soon logged on to my favorite website, Ranger-Forums, and began browsing to see how I should go about cleaning my engine. Obviously I could just hose it down with water, but I was soon cautioned by a thread I found warning that I definitely needed to cover up some things, but thats for later. 
First, let your car run for 3-5 minutes, just to let it warm up like I did above.

Taking the advice from a friend on Ranger-Forums, I put plastic bags over the battery and over the fuse box once the truck was completely shut off. Is this necessary? Maybe not, but I'd rather be on the safe-side.

From there, I grabbed a magical substance called Purple Power, a degreaser that removes a mixture of  earth and water,  what some call gunk. 

After drenching my engine in as much degreaser as possible, I let it sit for a few minutes letting it do its work. It is a very strong substance and you don't want to get it on your skin and definitely not in any orifice of your body.


If you don't own a power washer, your best bet is a garden hose with a nozzle at the end. Spray the entire engine down with water after the degreaser has soaked for a few minutes. Make sure to wash away all of it and that none dries on the paint.


I decided to use the blower effect since I didn't feel like getting the air compressor out. As soon as I wised-up and realized it wasn't doing any good, I switched over to drying the engine with a towel. ( which actually worked out better because I was able to scrub with the towel)

After the engine was all dry, I realized that my engine was still not completely clean. So I got my second favorite car-cleaner: Turtle Trim Restorer. I usually use it for my bumper and mirrors but I figured I'd give it a shot. (Turtle also makes an excellent wax for detailing your car)


Although I wasn't able to get every nook and cranny, I was surprised at how well the Trim Restorer worked. It exceeded my expectations to say the least.


Before


After


Wednesday, July 30, 2014

Suspension Travel and Flex Test

Yesterday I decided that, since my suspension is completely stock with no lift and about 29" tires, I should see what the suspension travel is like...basically I was really bored. Here are just some quick pictures I took at a dirt lot behind a park.


This was actually taken on my way out. I figured I'd sport my Ranger-Forums sticker at least once.

These two on the right and bottom were taken when I first got there. I found a little hill/bump and decided to go up it, surprisingly, the little truck made it up no problem despite the back wheels spinning in the dusty dirt.


 These last three pictures on the left and bottom are the best examples of the suspension travel and flex. In all honesty, I'm pretty surprised at what this little Ranger could do for being stock. I think a spindle lift and a rear block is in my future.


Thursday, July 24, 2014

Ford Ranger CB Radio Installation

Before you start, make sure you have all the parts needed. To make it easy for myself I just bought a kit with everything included here. However, I found myself stretching the life out of the 6 ft cable it came with; I would definitely suggest a 9 ft cable especially if you have an extra cab or plan on mounting the antenna on the back bumper.

I first started by drilling the antenna mount to the side of the bed behind the driver's side. (I only used the two top holes)

Don't worry about only using the two top bolts on the mount, it holds fine and trying the tighten the bottom two is more trouble than its worth. Tighten the antenna and connect the cable to antenna. The hole to the left of the mount is a perfect spot to feed the cable because it goes down below the bed and is hidden pretty well.
                                                                               ^
The picture above shows the cable running through the hole down under the bed and under the cab.
Under the cab and on the right side of the driver's seat there is a rubber grommet. This is the best way to feed the cable from under the cab to the inside of your cab.
In order to remove the grommet take off the black, plastic panel with a screw driver like I did above. Be careful, this panel does tend to crack!

I've already taken the grommet out, and you can see where I fed it through. ^

With the 6 ft cable, you'll need to feed it under the carpet, or plastic flooring in my case, if you do this, you'll need to mount the CB next to the stick.

If your like me with the cheap plastic flooring, it's easy just to feed the cable through the top of the flooring.
Drilling your CB next to the stick like I did is a perfect spot, however I'm about 5'11" so if your taller your knee might bump into it every now and then. As for the mic, I just lay it in the cup holder, I don't see the need for extra holes in the dash.

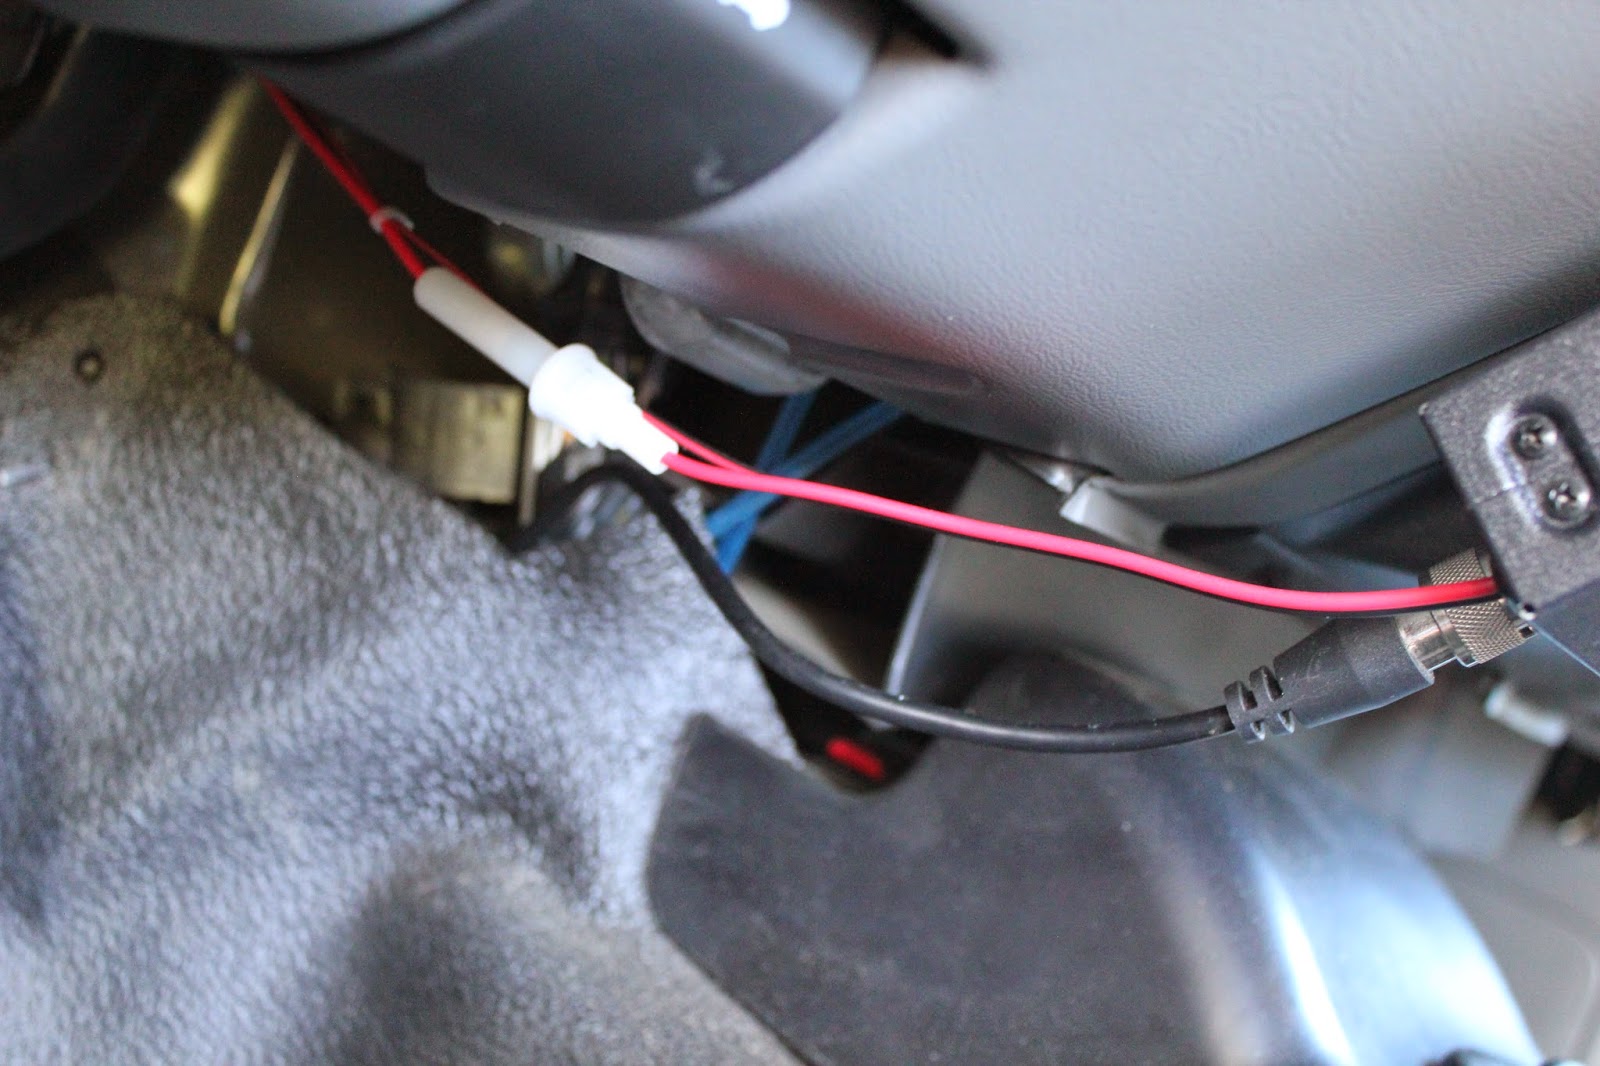
The red and black cables aren't very long, so I drilled a hole next to the gas pedal because my fuse box is in my engine compartment.

These two pictures show where the red and black wires ran out of the fire wall.                                                                                  


I used a little bolt on the inside of the fender as the ground.


After some trial and error, this is the fuse I ended up using. It allows me to turn the CB on and off only when the car is on. This way I know for sure that if I leave it on on accident, it won't drain my battery.

I hope the pictures helped!